Tuesday, 20 February 2024

Second Ceramics Project: Beginning

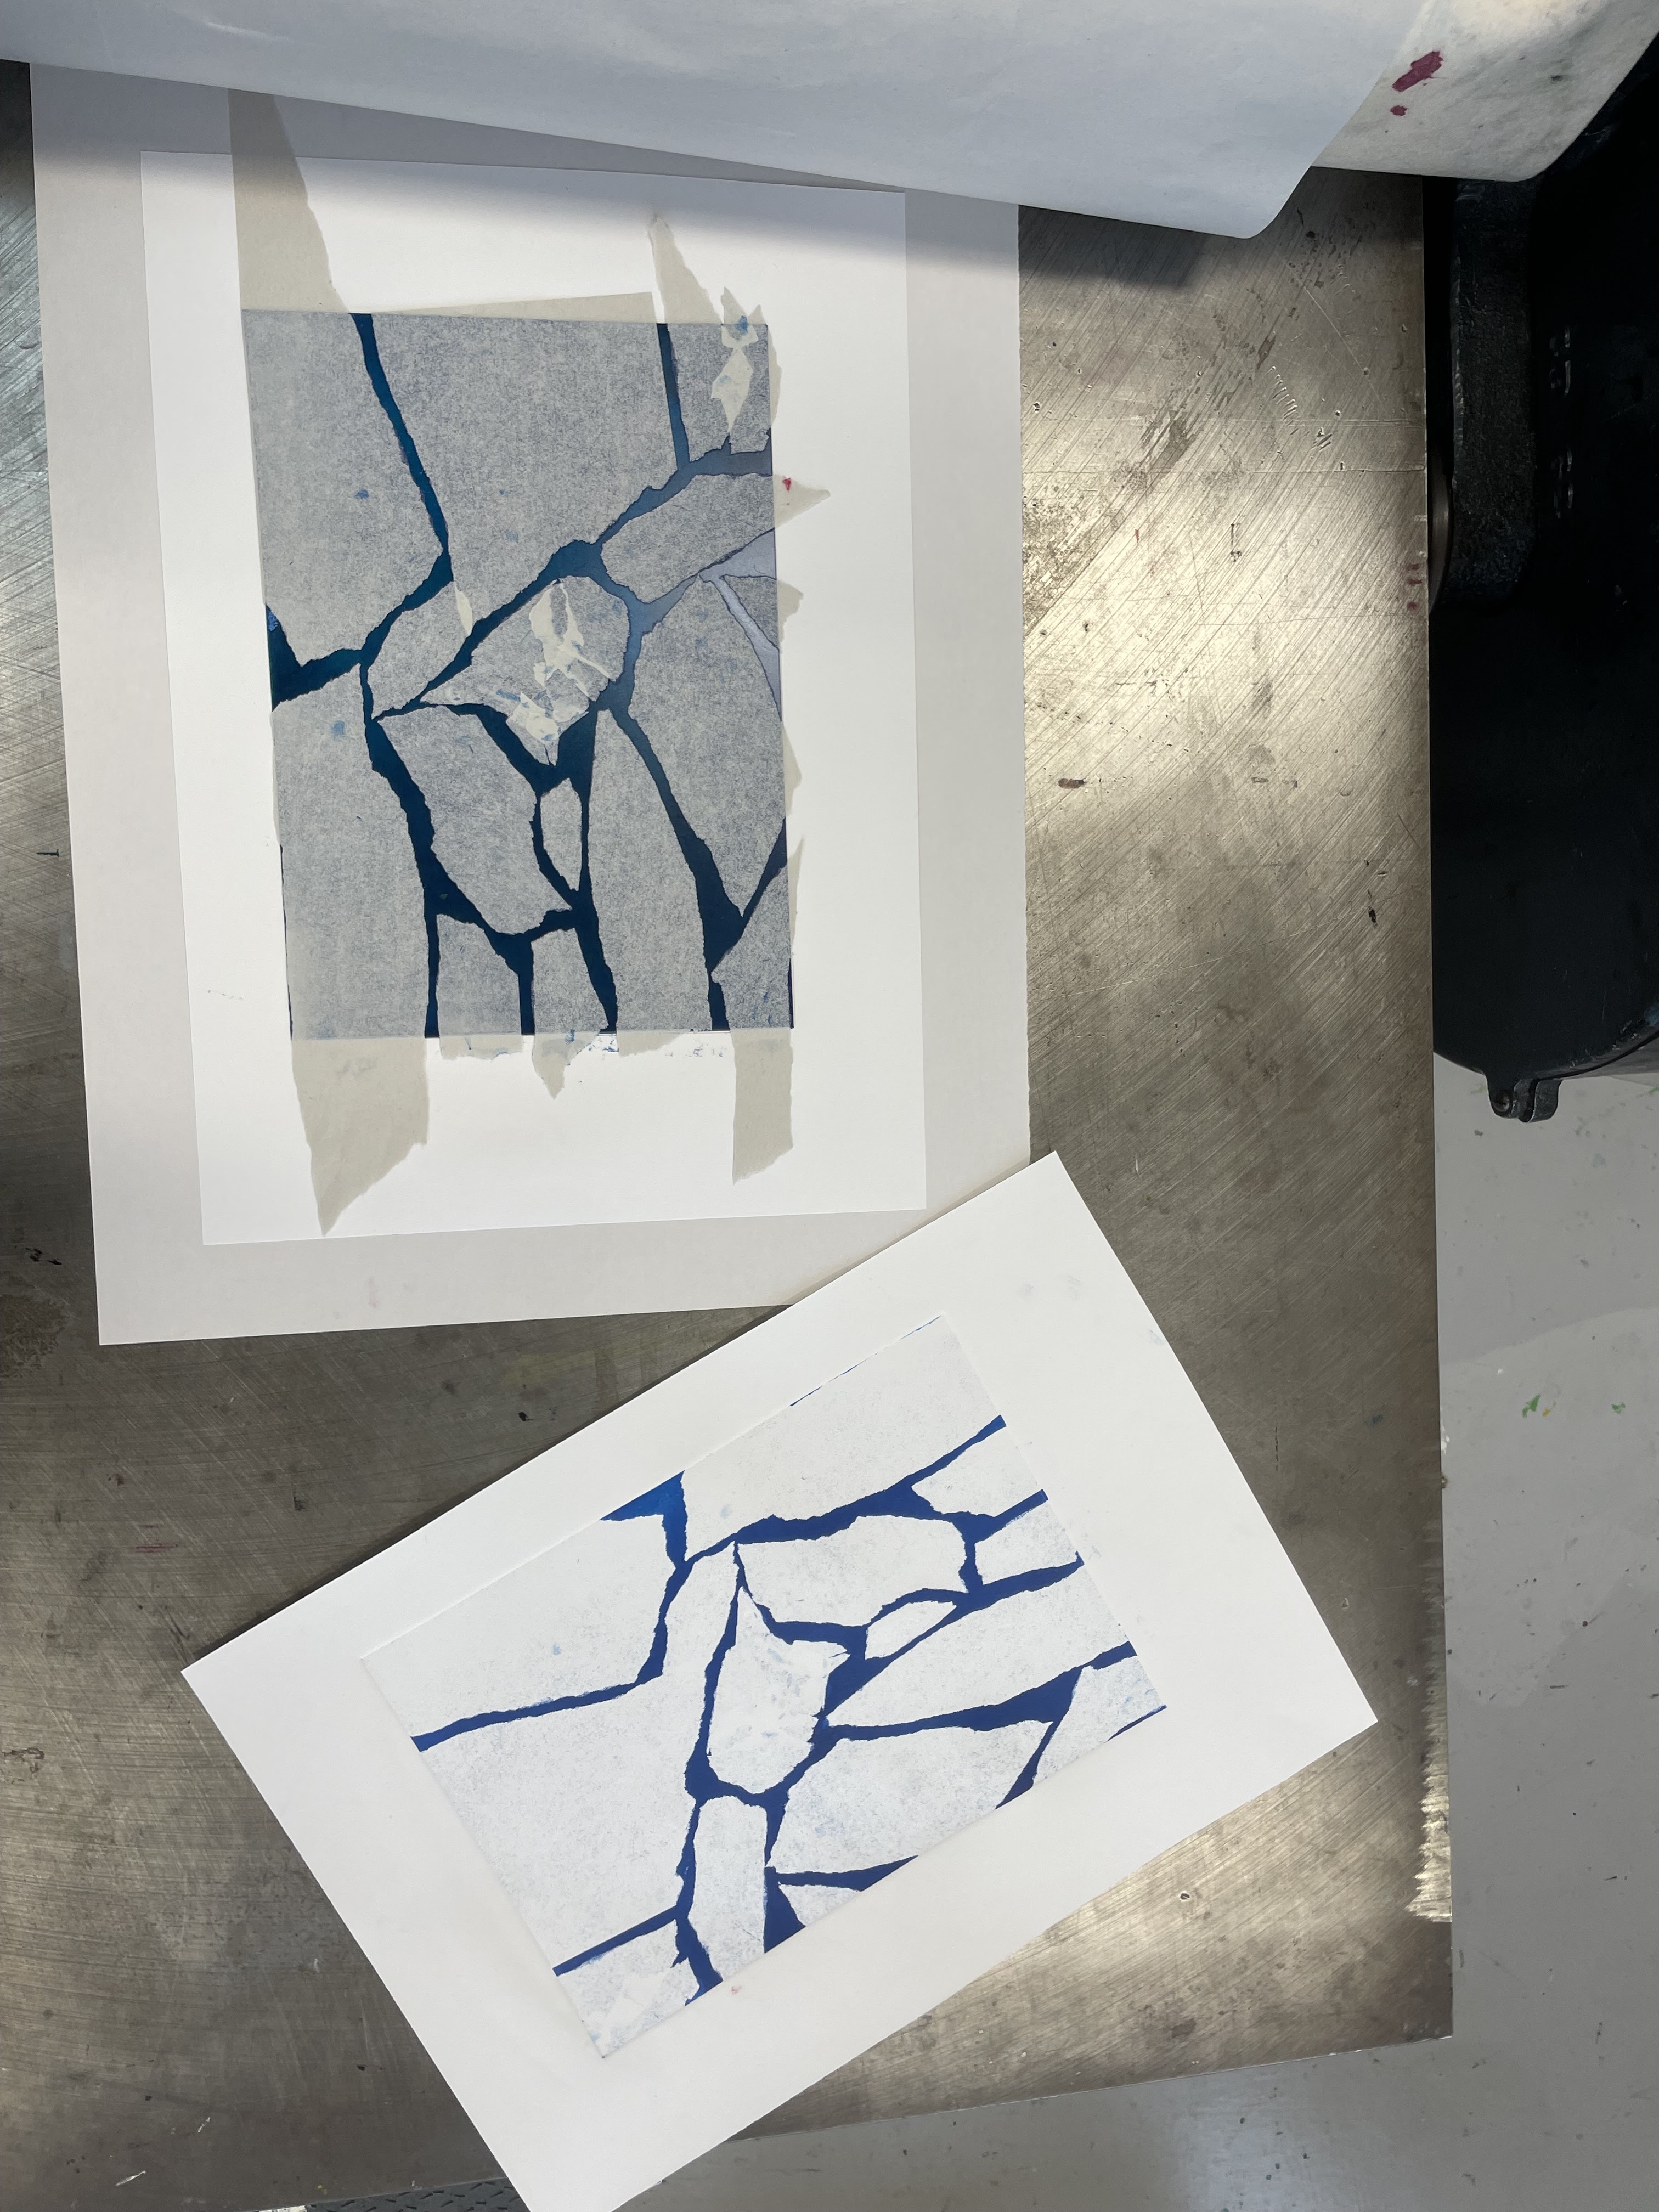
For my second ceramics project, I used a moth wing pattern. I drew with a pencil on a piece of paper an example of a wing pattern that I found on the Internet. Then I cut out the entire middle part, leaving only the borders. 


Then I cut out the pattern and traced it to duplicate it. When cutting out the copy, I decided to make it smaller. Once I had cut out enough, I used tape to attach them together. As a result, I received an interesting composition, which I decided to use as an ornament. The idea of superimposing wings was inspired by George Bowes's work Contemporary Modern Memphis Signed Ceramic Art Vase Vessel, in which he used an irregular shape that resembled layered picture frames.


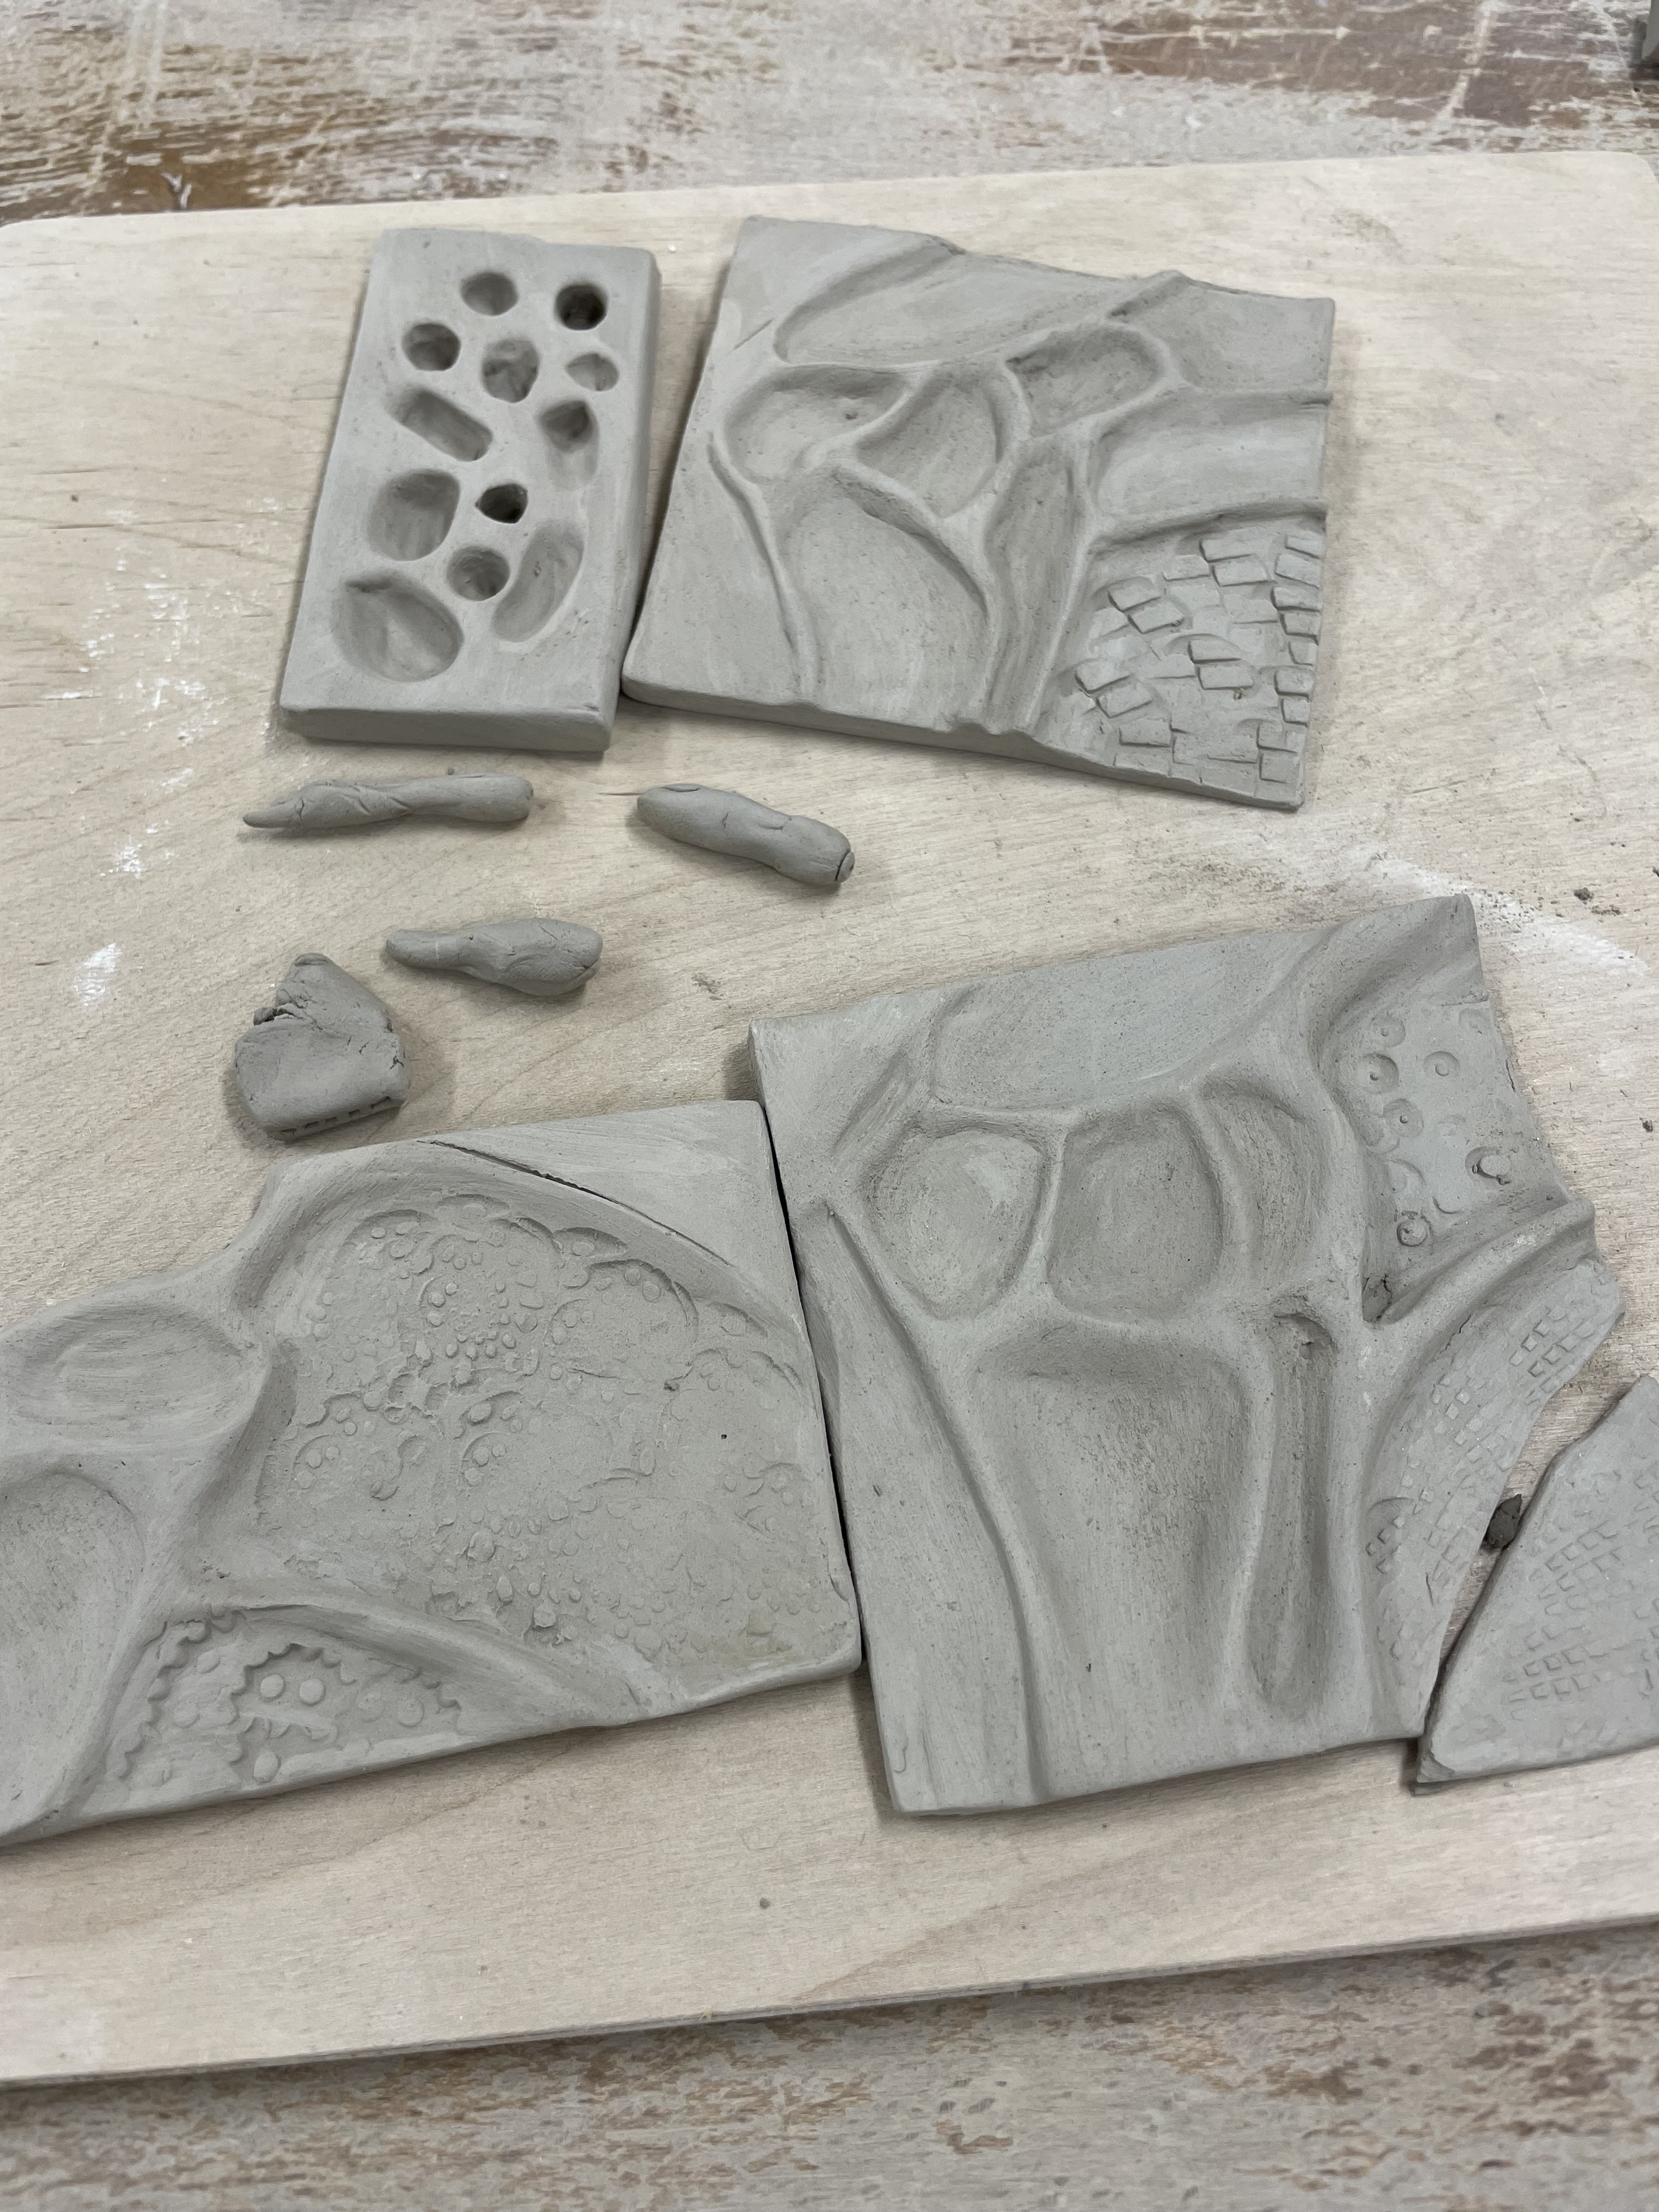
The same day, I went to the ceramics studio to start working on this project. First, I cut out a large amount using a paper pattern. I decided that it would be better to cut more of them than if halfway through the creation it turns out that there are not enough of them. I cut the wings in two thicknesses. I will use a thicker layer at the bottom to make the composition more stable, and at the top, I will use thinner parts so as not to weigh down the composition or even prevent it from collapsing.


Finally, I placed all the cut wings on a roller to give them a slightly curved shape. When glueing them together, it will be easier to connect them together and avoid cracks.


Reference List: 

1stDibs.com. (n.d.). Contemporary Modern Memphis Signed Ceramic Art Vase Vessel George Bowes 1990s. [online] Available at: https://www.1stdibs.com/furniture/decorative-objects/vases-vessels/vases/contemporary-modern-memphis-signed-ceramic-art-vase-vessel-george-bowes-1990s/id-f_17842001/#zoomModalOpen [Accessed 24 Jan. 2024].

Samples: Color Application

Samples after the first baking in a ceramic kiln. The first baking is done to 1000°C. The next step was to choose the color that would be used under the glaze, this is not a necessary step, but it can highlight the color of the glaze, so I decided to check the effects on these samples. I put a colour on them that I mixed myself from ready-made colours available in ceramic workshops. The colours I chose for mixing were midnight blue and white. Through this process, I wanted to obtain a more delicate version of blue, as midnight blue, as the name suggests, is a dark shade of blue. My colour inspiration is impressionism, and I decided to be inspired by Claude Monet's painting "Water Lilies" for this work. The next colour I used was a delicate shade of green (the name!!).


I used a small scale and a plastic box to mix colours. For this project, I mixed exactly 84g of White with 114g of Midnight Blue.


Then, since I had 3 samples available, I decided to check whether layering would affect the colour intensity after baking and glazing. I applied one, two and three layers of each colour as follows and then signed them using a black pen so as not to mix them.


 The next stage will be applying the glaze. At this stage, the visible colours do not reflect the final effect. During subsequent baking and glazing, they may be completely transformed. That's why it's so important to make colour samples before applying them to the final product.


Thursday, 15 February 2024

Ceramic Workshop: First Project

My first of three designs to pass AP1. The first design is a ceramic ornament. From the rolled-out ceramic mass (about 6 mm thick), I cut out a shape similar to the pattern of a dragonfly wing, using the pattern I prepared. I also cut two strips with a length similar to each side of the wing. They will have the function of connecting two wings, creating a space between them. If I have time, I would like to use this space to test the light from the inside. It's good to have options.


Next, I used a small knife to make a pattern on a wing-shaped piece. I did the whole process of cutting the mass out by using a loop tool. The loop tool is very good for that kind of work with mass and allows for the precise cutting of patterns. Once the pattern looked satisfactory, I used ceramic stamps to stamp the previously selected pattern on the part of the wing. I did exactly the same process on the second wing-shaped part. 


The two stripes that I made as sides dried a little bit quicker because they were smaller in size than the wings. The thinner one broke because of that. This piece became too hard when I tried to fit it into the shape of one side of the wing part, just broke during that process. I decided that a making new one would take me too much time and also the parts that were already ready would be harder and the whole piece could go to the bin. I decided to try to repair the cracked part using ceramic glue (ceramic mass mixed with water to obtain the consistency of a glue stick) and attach it to the rest of the decoration. It turned out that it was possible and it turned out quite well. The place of the crack is practically not visible at all. However, due to the high hardness of this part, cutting out further patterns was very difficult and I did not want to risk further cracks. 


The last step was to attach all the parts together and cut the bottom evenly so that the final ceramic decoration stood stable. I did this part using a small knife. Once I was sure that the whole thing was stable, I used my hand and ceramic glue to smooth out the places where the parts connected to each other to give the decoration a more professional look.


The next step will be to put the ornament in the kiln (the name of the oven for "firing, drying, baking, hardening, or burning a substance, particularly clay products" (The Editors of Encyclopedia Britannica, 2017)). The process is divided into two baking stages. During the first one, the temperature reaches approximately 1000℃ and then cools down. During the second baking, the kiln heats up to approximately 1250 ℃. This process will take 2-3 days.

References list:

The Editors of Encyclopedia Britannica (2017). Kiln | oven. In: Encyclopædia Britannica. [online] Available at: https://www.britannica.com/technology/kiln-oven [Accessed 18 Feb. 2024].


Ceramic Workshop: Samples


At this stage of working with my samples, I used water and a sponge to even out their structure and make them look more professional. Since these are samples, I could easily practice this part of the process without fear of messing something up.

The changes may not be very visible in the photos, but when touching the object and when looking closer, the difference is noticeable.

Unfortunately, one of my samples broke during this process. However, it showed me where the strength limit of the ceramic material is after drying when it is no longer so flexible. The conclusion I have drawn from this situation is that in the final project, I will definitely not cut so much clay to create a pattern. The smoothing process was very pleasant and relaxing, while also teaching me the next stage of ceramic processing. 

Tuesday, 13 February 2024

Research: Ceramic Techniques

Handbuilding


The natural reflex of the hands when in contact with the ceramic mass is to want to shape it (Corral, 2016). I think this is due to the consistency of the ceramic mass, more specifically, it is very similar to plasticine. This means that it is quite a thin material and the resistance when pressed manually is low. Products made from this ceramic technique are not for everyone, because it is manual work, which generally means that the work will not be perfect. For people with a high sense of need for features such as perfect smoothness or evenness, this may be unacceptable. However, it can be used well for products such as sculpting figures or specific shapes. However, this requires experience in this type of manual work. I am considering using this technique for the details of my next project.


Pinching


This technique involves forming a ball of clay, usually the size of a hand. Holding the ball in our hand, we press our thumb inside it. Then gently turn the mass in your hands and at the same time press your thumb into its center. It is formed by pushing the walls apart to achieve the thinnest possible thickness. Then, using a damp sponge or a tool called ribs, smooth both the outside and the inside of the obtained vessel (Corral, 2016). To better understand and visualize this technique, I decided to find videos. While watching an instructional video on YouTube (KaransPotsAndGlass, 2013), I consider this technique to be more advanced. For people who feel confident working with their hands or have already had experience with clay. Currently, I am not considering using this technique in my projects. First of all, it seems to be intended for more advanced creators. Another reason is that it does not fit the context of my designs.


Slab Construction 


I used this technique during preparation for my first project. It involves rolling out the wet mass, using a rolling pin and wooden pads (to ensure that the mass is rolled out evenly). Then, using a small knife, the selected pieces and shapes are cut and joined together. So far I have been working with wet pieces of clay. It turns out that this technique has a second option called: Hard Slab Construction. It involves using hard, leather-like pieces of mass and only at this stage cutting out shapes to connect them together (Corral, 2016). I will use this knowledge to connect larger parts together. A hard mass will be more stable, which will help avoid the collapse or deformation of the design.

Reference List: 

Corral, A. (2016). 5 Ceramic Techniques You Need to Know. [online] Artsy. Available at:
https://www.artsy.net/article/artsy-editorial-5-ceramic-techniques-you-need-to-know [Accessed 13 Feb. 2024].

Gibson-Stoodley, S. (2023). Betty Woodman: Queen of American postwar ceramics. [online] Auction Central News. Available at: https://www.liveauctioneers.com/news/bid-smart/betty-woodman-american-queen-of-postwar-ceramics/ [Accessed 13 Feb. 2024].

KaransPotsAndGlass (2013). Pinch Pot Cup Forms Ceramics I - First day Pinching (Older version). [online] www.youtube.com. Available at: https://www.youtube.com/watch?v=2CQAdMxjBik [Accessed 13 Feb. 2024].

Gagosian, L. (2019). John Mason: Geometric Force, Park & 75, New York, January 10–February 15, 2020. [online] Gagosian. Available at: https://gagosian.com/exhibitions/2020/john-mason-geometric-force/ [Accessed 13 Feb. 2024].

Monday, 12 February 2024

Experimantations


Experimentations part. 

During the lessons from AP1, I was supposed to do a few colour experiments. I decided to use a few different materials for it. I use a watercolour, soft pastels and crayons. Firstly, the version with crayons didn't look good, and I considered that part a failure. The soft pastel looks nice, I smeared them and used a soft white pastel to make the colour more delicate. The last one I used was watercolours. First I used blue/green, and after it dried I applied pink. As quick experimental sketches go, I think most of them turned out satisfactory. The combination of blue and blue transitions makes a pleasant eye impression.

The final results. 
Since I considered the version drawn with crayons as a failure, I decided to play with it a bit and add watercolours as another layer. Surprisingly, it turned out really well in the end. 

Crayons + Watercolours 
Watercolours
Soft Pastels
Watercolours


I used my Fine Art Print workshop introduction as a practice experimentation. I used only two colours because there was a time limit and I wanted to practice as many combinations as I could. I also used a spirit-based cleaning substance to create the effects.


The final effects surprised me. I want to take one day to go to the Fine Art Print workshop and pay more attention to mixing colours similar to the works from the Impressionist era, which I chose as inspiration for my designs.


First workshop experimentations

I took advantage of the opportunity to have access to the ceramics studio at DMU and started working on my ceramic project. First, for the purposes of my experiments, I rolled out the ceramic mass to a thickness of approximately 6 mm. Then I used a small knife to draw a section of the pattern that looks similar to the pattern on a dragonfly's wing. After that part, I cut out the ceramics mass to look more like the wings. 

When I was quite satisfied with the result got I start to make some patterns using a ceramics stamps. I use five different patterns to see how they will be looks like and also to see how I can fit them into these quite small parts of the pattern. 


I tried to cut the holes with different thicknesses to check how they would look after the drying part. At the moment, my favorite is the central pattern of stamps, tiny squares that slightly expand. I will make the final decision after the mass will dries. 


I also try to make my own stamps. I wanted to make single patterns, lines of patterns that I hope to use in the future for harder-to-reach places.

Thanks to this exercise, I saw how the ceramic mass is technically. Not only facts from books, but I had the opportunity to physically work with them, which showed me more real possibilities at my level. I noticed that the ceramic mass is similar to working with plasticine. At this stage it is quite flexible, but therefore I cannot do anything beyond flat positions. Any attempt to connect two larger parts will end in tipping over. The mass at this stage does not have any stabilization. I need to wait few days before I start the next step. In these time the mass will get a little bit harder and I will be able to connect parts together. 

Reflection: Art Portfolio 2

     In Art Portfolio 2, I learned techniques for developing ideas. The classes showed me how to evolve,  my ideas, and change and improve ...