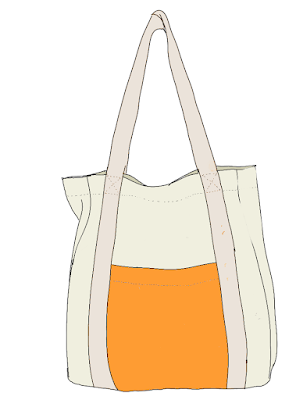
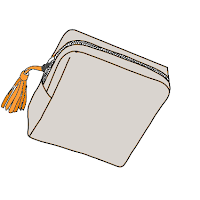
First, I use the Sketchbook application on my tablet to draw initial designs for a small makeup case and a tote bag. I try to sketch multiple concepts, exploring different shapes and features for both products ( can be seen in previous posts). After settling on a few solid ideas, I create more detailed drawings, focusing on proportions and key details.
Then, I design and draw a small sign to be used as a background decoration (right picture).


Next, using Photoshop, I start creating the final outcome. I add an American Robin with a White Oak leaf pattern to make the design more realistic and closer to the final look. I adjust the size of the pattern and place it in the correct position on the designs.
For the last step in my digital design process, I use Illustrator to combine all the elements and also to create backgrounds for the final 2D outcome.
The final outcome for the tote bag and make-up case.
In that step, the final move is transferring the design onto a linoleum block and cutting it. The next step will be to visit the final art print workshop and check how it looks after adding inks.
I really enjoyed developing the linocut technique. Although I cut my hand several times, I can see my progress and definitely want to continue with this technique even after finishing these projects. I love the unique vibe it brings to my 2D artworks. I can't wait to transfer these designs and see the final results.
At this stage, it's hard to say what I would change. I think I'll be able to see what needs improvement once I see the results from both the linocut prints and the finished 3D outcomes. Maybe I need to add more detail or cut out something from the design, but I'll know that after I transfer my linocut to paper sheets/ materials.


Can you add some reflection here Aleksandra? What techniques are going well? Have you changed anything? Overcome any challenges?
ReplyDelete