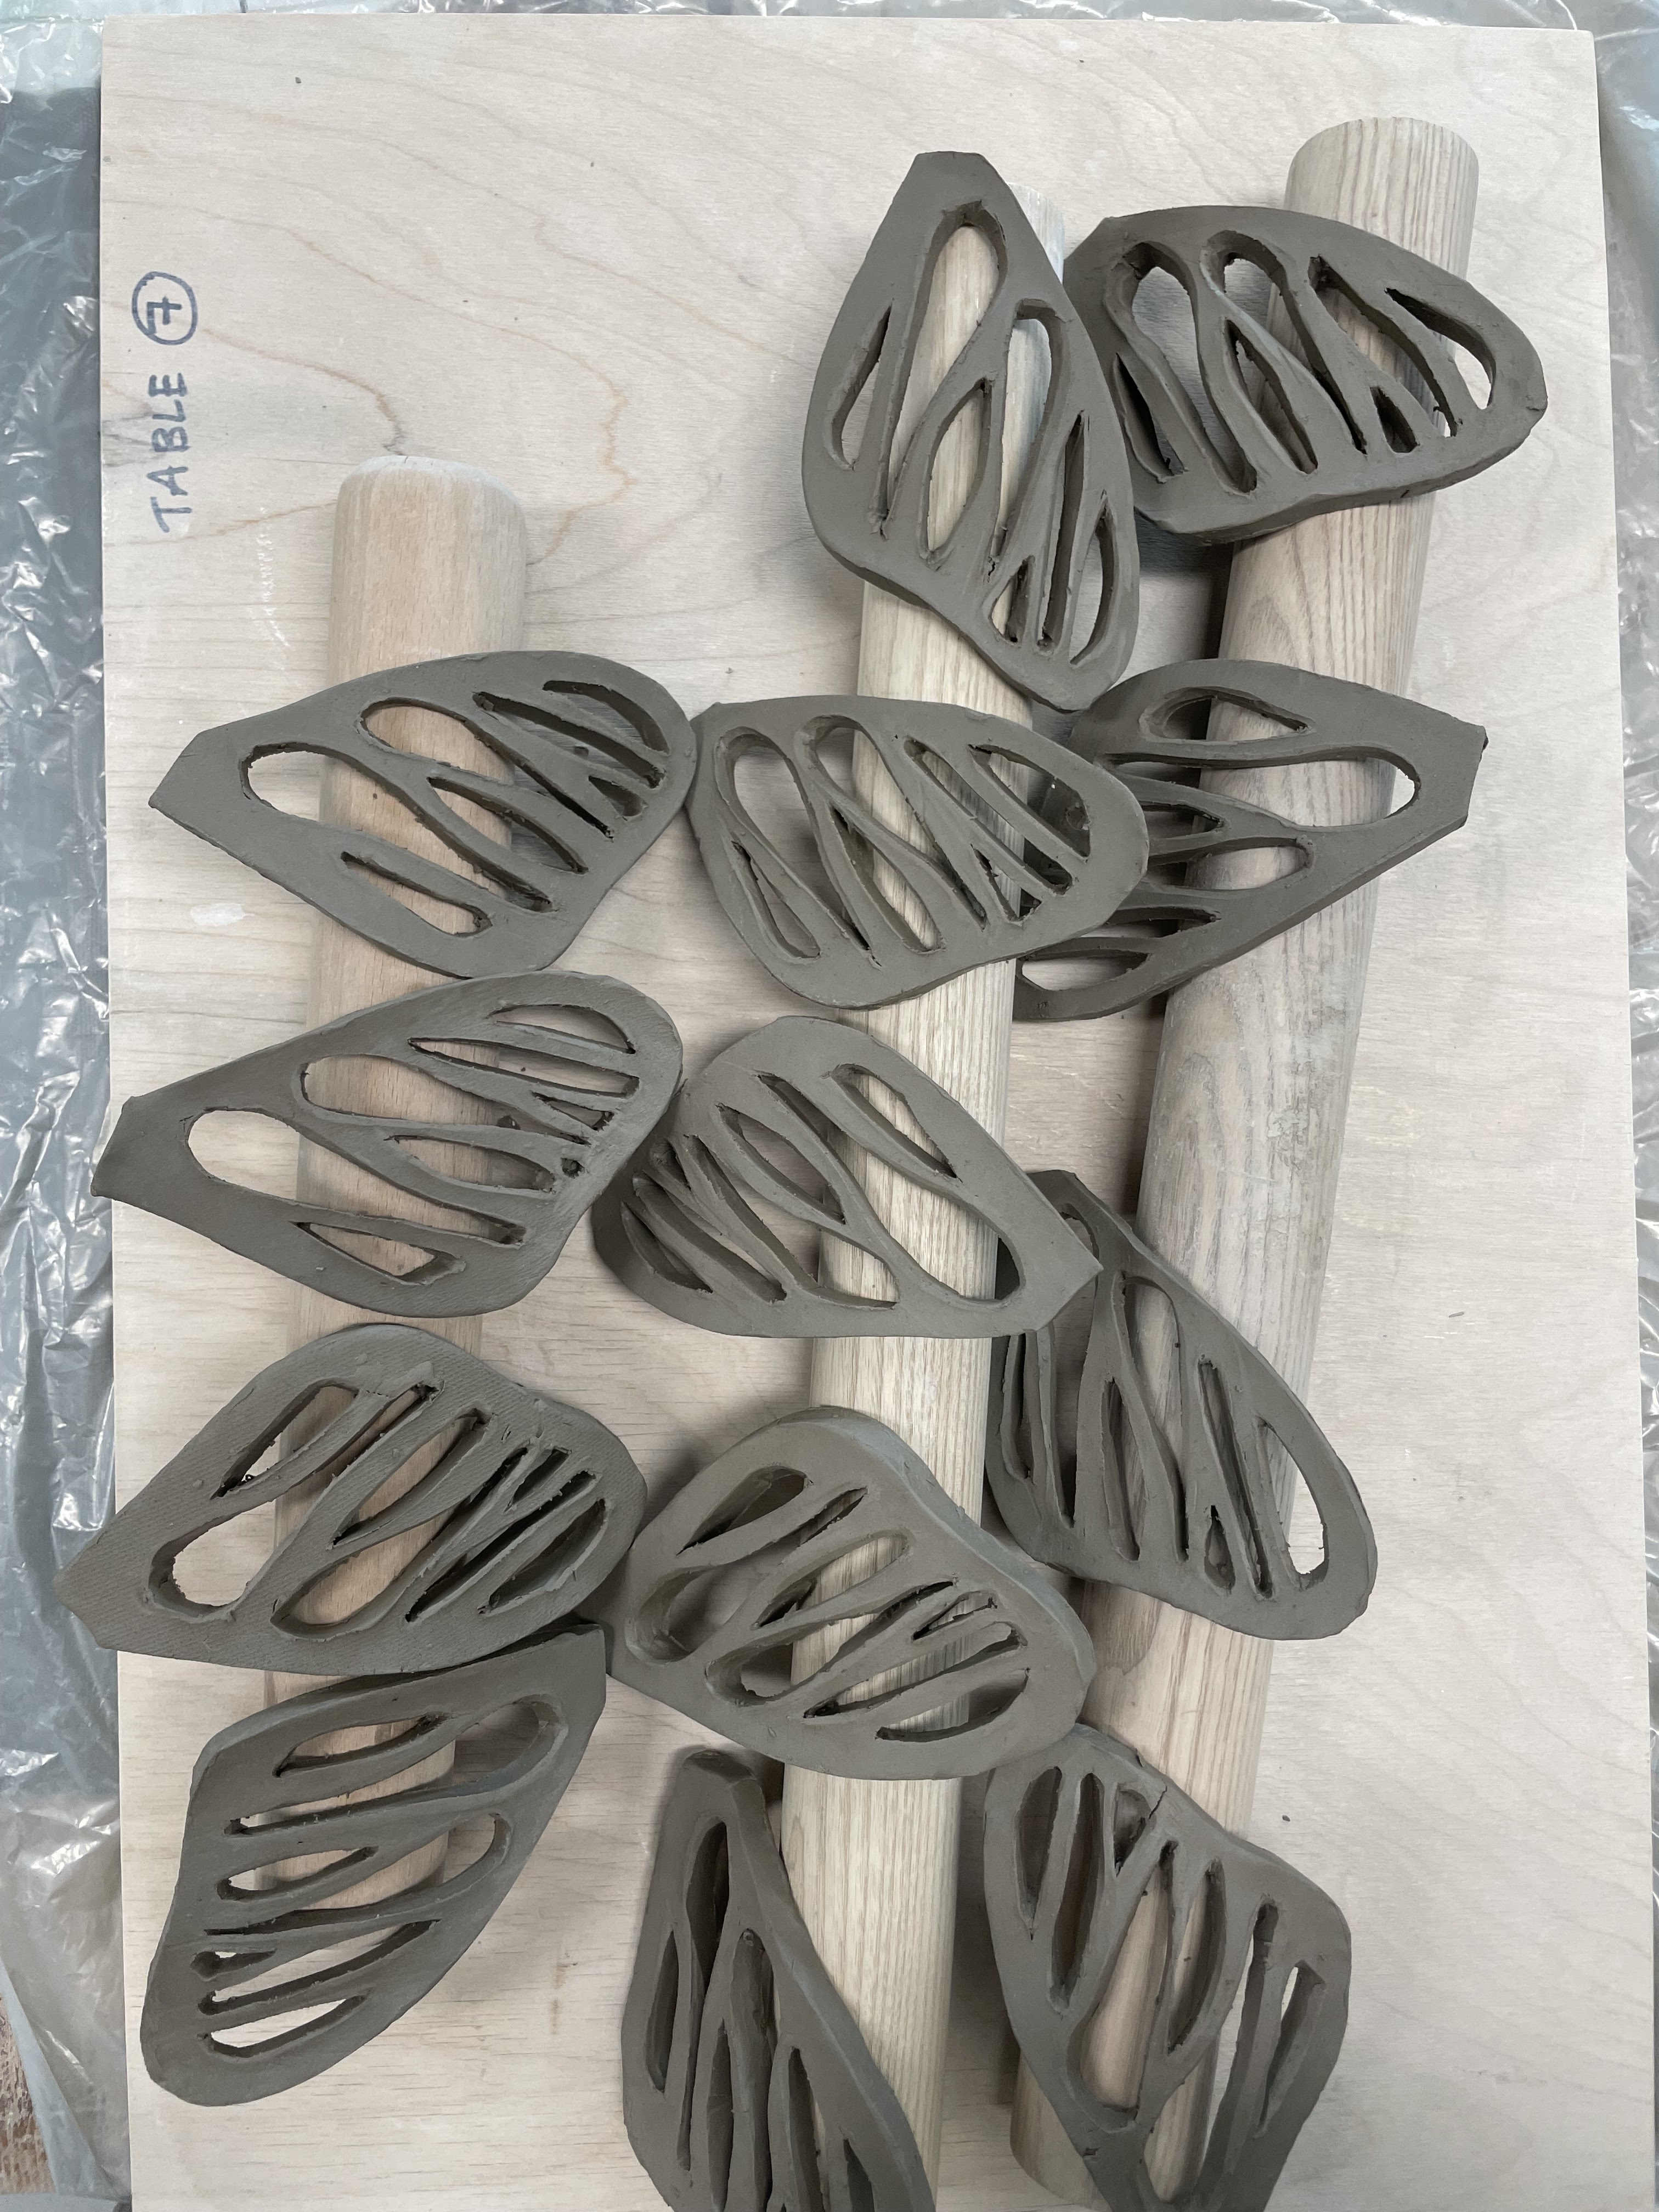
In my next step to build the second ceramic model, I used a pattern made of a sheet of paper, resembling a moth's wing. Then I used a knife to mark the places to be cut in the ceramic mass. I use a small knife to cut out the marked parts and, at a later stage, water to smooth the edges after cutting. I left the mass overnight covered only with a bag, which made it harden more than I expected. This made the cutting process much more difficult. Next time I would use the space designated for this (name!).


Once I had the look and stability, I moved on to the visual stage. Using a sponge and a bowl of water, I smoothed the structure of the wings. I am posting photos below showing the difference this stage makes. The next step is to leave the object to dry completely, use underglaze in the selected colour and bake it in a kiln.


I wanted to show what the parts looked like that turned out to be too hard during the cutting stage. This mistake taught me a lot. Now I know I could have used a water spray to try and freshen them up. However, I will now glue them together and use them to make samples for colour and glaze.


No comments:
Post a Comment